
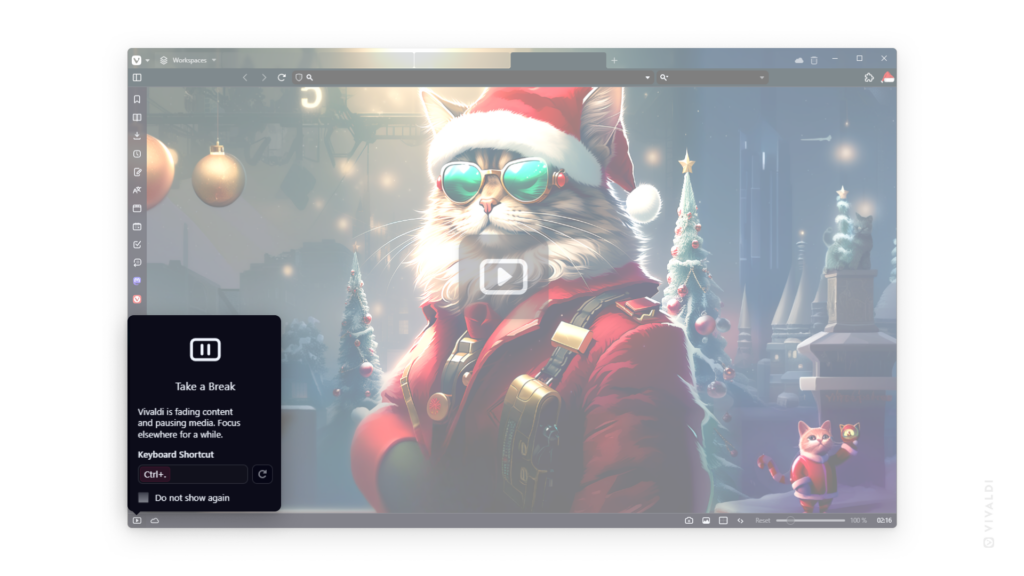
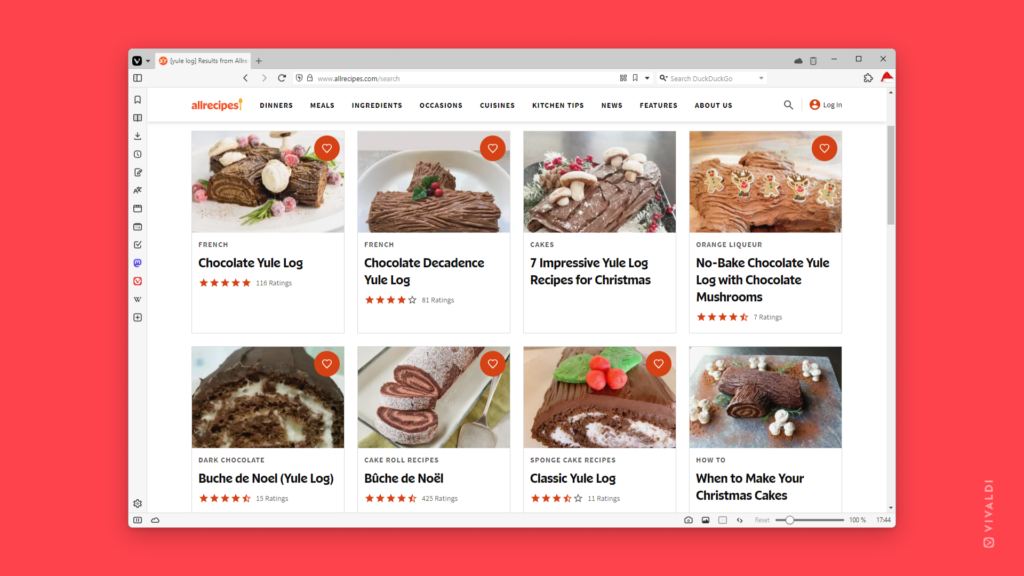
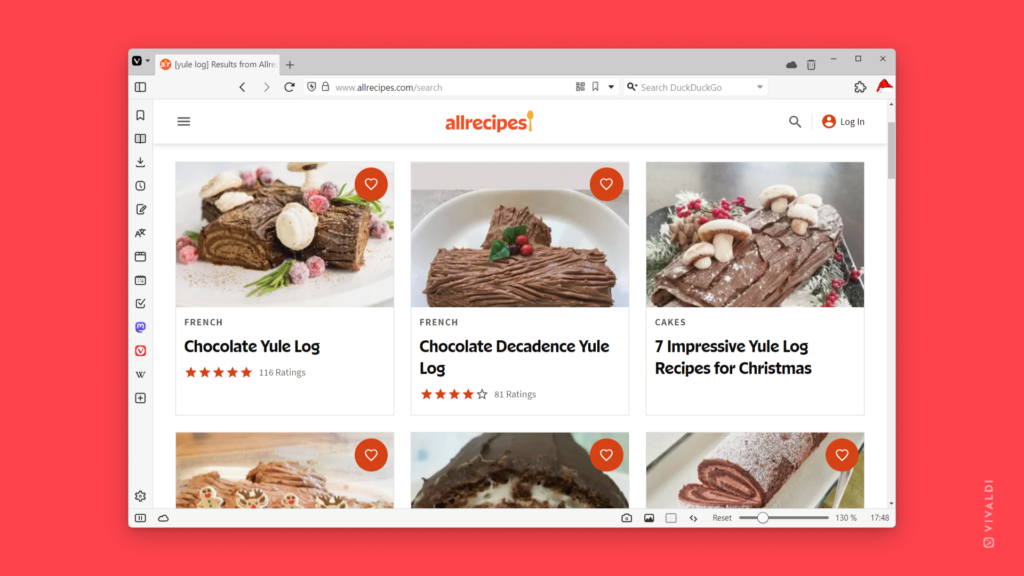
Take a break, enjoy some time off today and cherish the holidays.
Whether you want to take a break from browsing or hide what you’re viewing from nearby people, Break Mode is here to help. Just press the ![]() Take a Break button on the left side of the Status Bar* to hide all content from view and display your Start Page background. When you’re ready to return to browsing, press the big play button in the middle of the screen.
Take a Break button on the left side of the Status Bar* to hide all content from view and display your Start Page background. When you’re ready to return to browsing, press the big play button in the middle of the screen.
Alternatively, use a Keyboard Shortcut, a Mouse Gesture or Quick Commands to enable and disable Break Mode.
* Don’t see the button? Right-click on the Status Bar, select Edit > Customize Toolbar and drag the button to one of the toolbars.


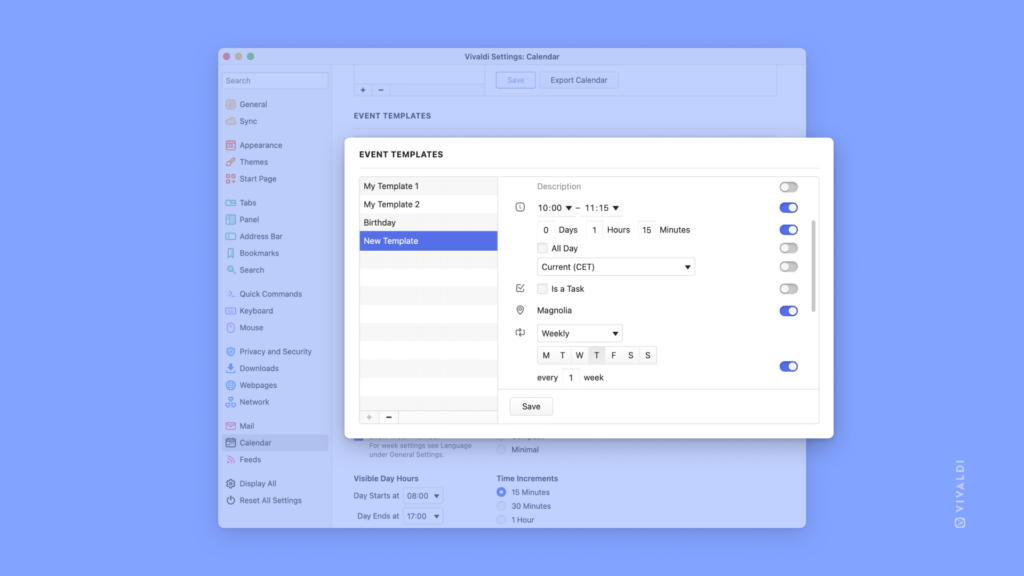
 Vivaldi menu >
  Settings >
  Sync.
Sync. 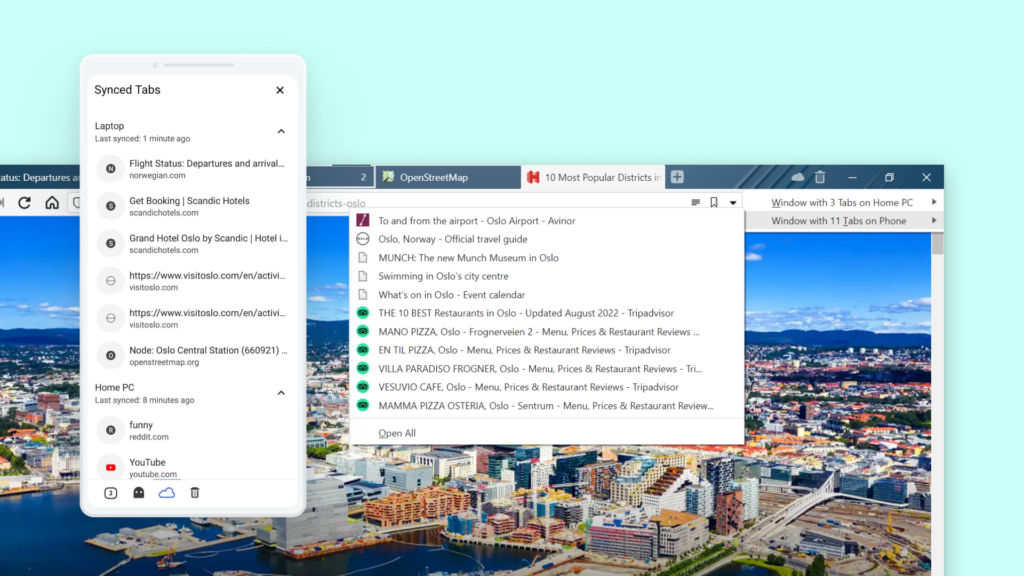
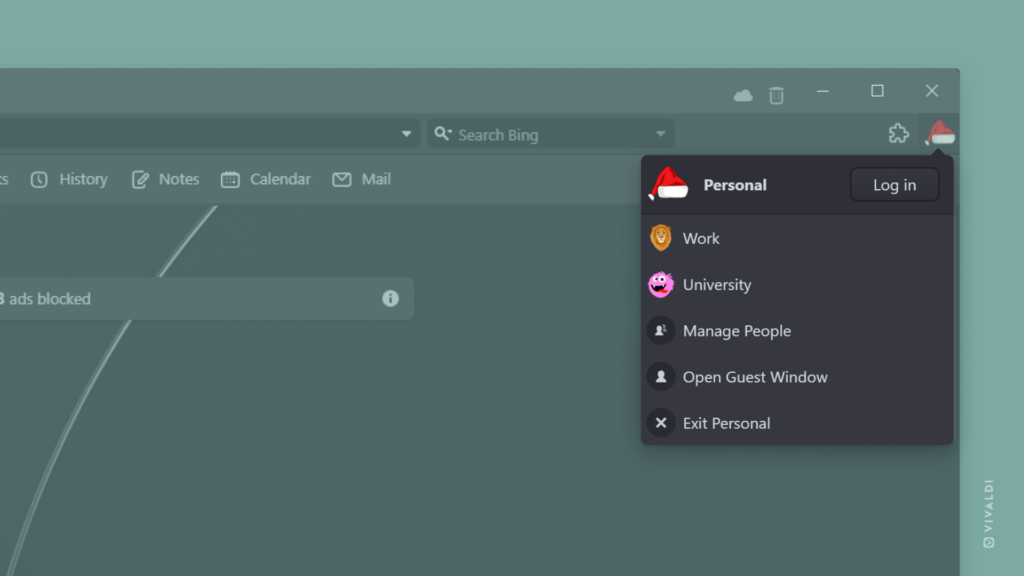
 “Send from all accounts” at the top of the panel.
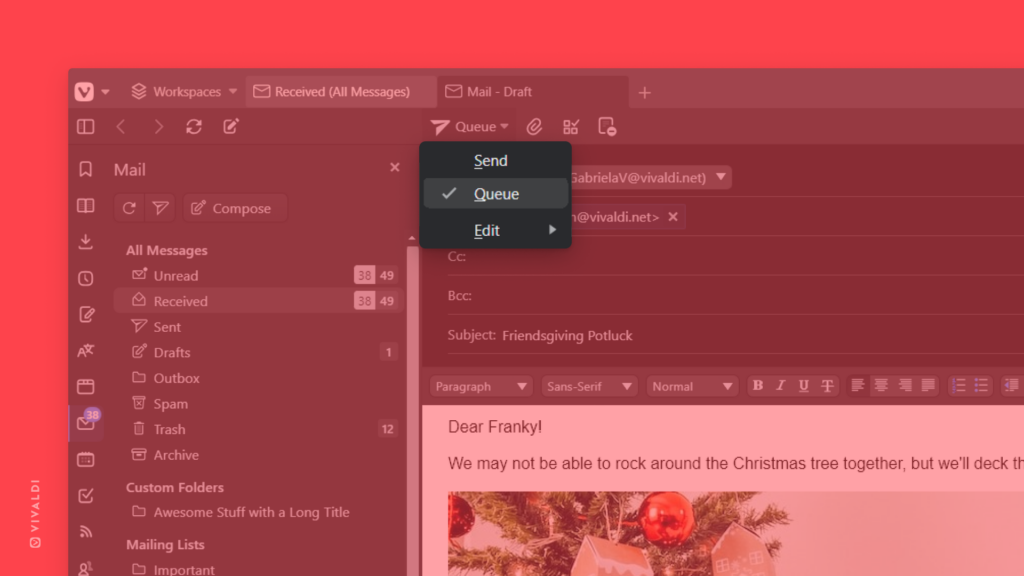
 Reader View button to enable and later disable Reader View.
 Download Page.
 Reading List.
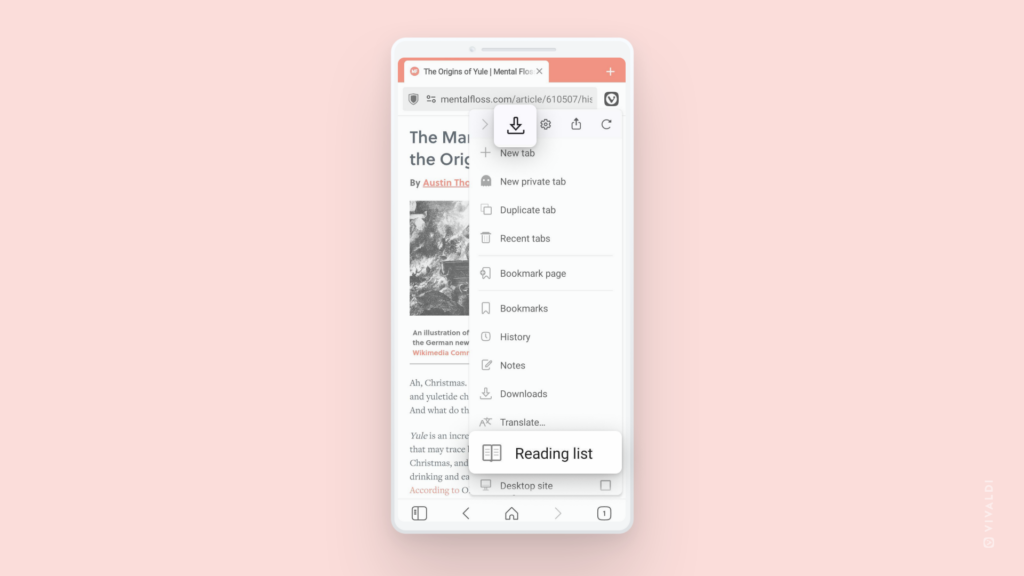